How to Set Automation Rules on Juphy
Alara Eren
Updated on
Share:
Creating automation rules on Juphy will help you to easily filter and classify messages based on specific keywords. Here is a step-by-step guide:
Table of Contents
hide
- Navigate to the main menu bar on the left
- Click on the “inbox” tab
- “Automation rules” tab will appear under the “inbox” tab once you click on it
- Click on “automation rules” and this window will appear:

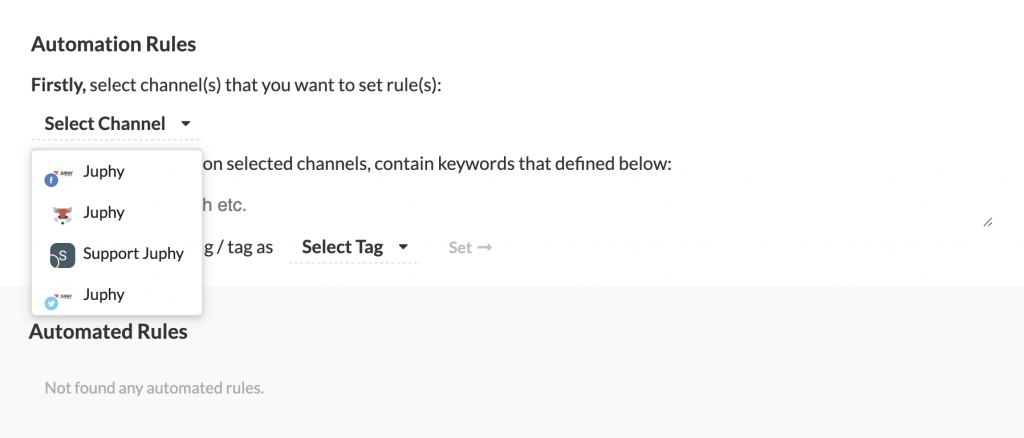
- Once you navigate to the “Automation Rules” window, you have to select the channel(s) that you want to set rule(s). So click on the “select channel” tab
- Here you will see a list of all the channels that you’ve previously added to Juphy such as below:

- Select the channel that you would like to set a rule. You can select multiple channels by clicking on them.
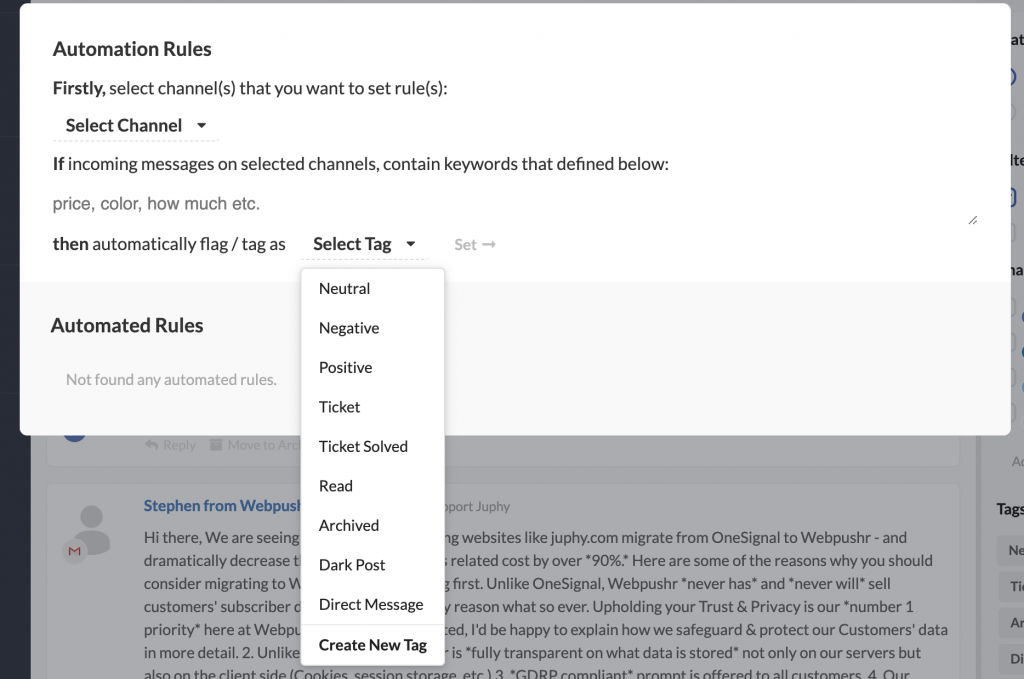
- Next, type in the keyword(s) that you would like to create rules for under the space which spells “if incoming messages on selected channels, contain keywords that defined below:”. Here you can write any keywords you have in mind such as price, how, good, bad, etc. This will enable Juphy to identify, filter and categorize messages which contains these keywords.
- Now you have to choose how you would like to categorize this keyword by clicking on the “select tag” box next to “then automatically flag/tag as:” Once you click on the “select tag” tab, you will see a dropdown menu with all the different tagging options such as “positive, negative, neutral, ticket” etc. or you can create a tag on your own from the dropdown menu:

- Once you choose the tag, simply click on “set” and you are ready!
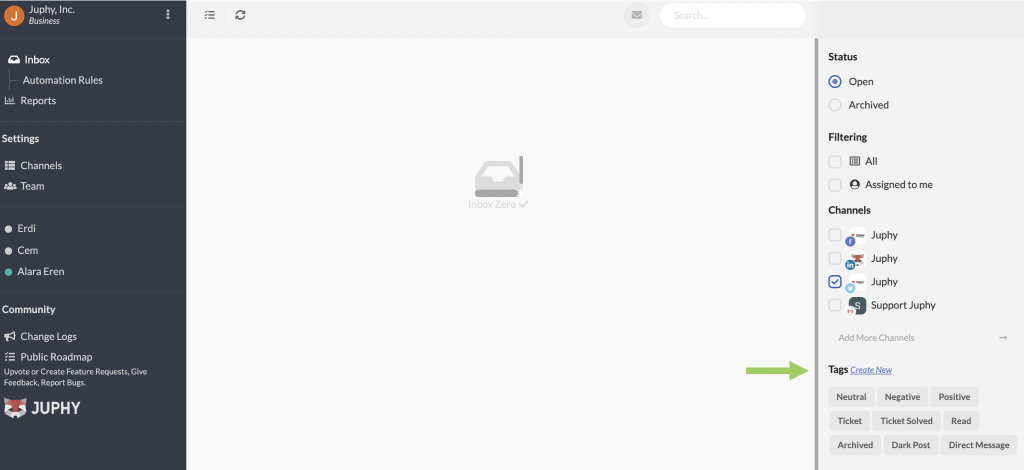
- From now on, all you have to do is go to the main inbox and navigate towards the bar on the right side. Here you will see the “tags” section with all the different tags.

Click on the tags you’ve previously selected and you will see all the new messages which fits the automation rules that you’ve created.